Easter Watercolor Overlay Photoshop Guide
The arrival of spring brings a surge of creative energy, marked by pastel hues, blooming flora, and a sense of renewal. For digital creators, this seasonal shift offers a unique opportunity to refresh visual content with textures that feel organic, soft, and inviting. An Easter Watercolor Overlay Photoshop Ov serves as a powerful tool in this endeavor, allowing designers to infuse their work with the delicate, hand-painted aesthetic of watercolors without needing to master the medium physically. This digital asset bridges the gap between traditional artistry and modern design efficiency, providing a versatile foundation for projects ranging from social media graphics to professional print materials.
Understanding how to effectively utilize these overlays can transform standard designs into standout pieces. The key lies not just in applying the effect, but in understanding how light, texture, and composition interact. Whether you are a seasoned graphic designer or a hobbyist looking to elevate your personal projects, mastering these tools opens up a world of creative possibilities that are both practical and visually stunning.
The Power of Digital Watercolor Textures
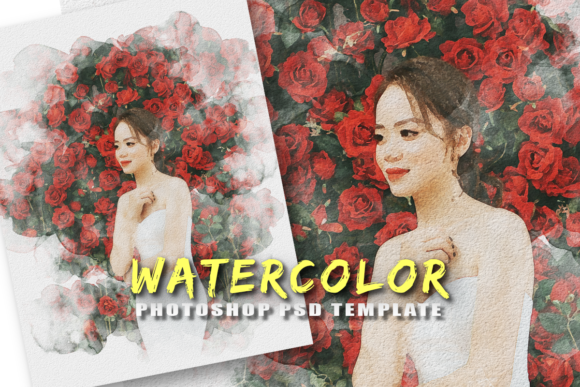
Watercolor is renowned for its unpredictability and fluidity. Capturing this essence digitally requires high-quality resources that mimic the natural bleed of pigment on paper. A premium set, such as one including watercolor brushes and high-resolution overlays, provides the authenticity needed to convince the viewer’s eye. When you work with assets at 300 DPI high resolution, you ensure that every subtle gradient and paper grain remains crisp, whether viewed on a retina display or printed on heavy cardstock.
The utility of an Easter Watercolor Overlay Photoshop Ov extends beyond mere decoration. It adds depth and dimension to flat designs. By layering these textures, you create a tactile experience for the viewer. This is particularly effective in branding and marketing, where emotional connection is driven by visual warmth. The soft edges and translucent layers of watercolor evoke feelings of nostalgia, care, and gentleness—emotions that align perfectly with spring-themed campaigns.
Essential Tools and Compatibility
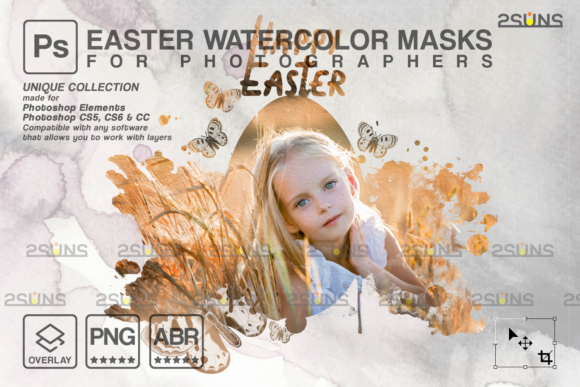
To achieve professional results, having the right file formats and software compatibility is crucial. A comprehensive creative kit typically includes a variety of file types to suit different workflows. For instance, a standard set might include 10 PNG files, 1 abr (brush file), and 1 JPEG. The PNG files are particularly vital because they support transparency, allowing you to place the watercolor effects directly over your existing artwork without cumbersome background removal.
These assets are designed to be compatible with any software that allows you to work with layers. This includes industry standards like Photoshop and Photoshop Elements, as well as accessible alternatives like Paint Shop Pro and PicMonkey’s Photo Editor. The flexibility of these formats means that you are not locked into a single ecosystem. However, it is important to note specific requirements for certain users. For example, Lightroom users should ensure they have a plugin that allows them to work with layers, as the native environment of Lightroom is primarily designed for global adjustments rather than complex compositing.
Additionally, the inclusion of Photoshop clipping masks techniques allows for precise control. By using clipping masks, you can confine the watercolor texture to the shape of text or specific objects, creating a cohesive look where the texture appears to be part of the subject rather than just sitting on top of it. This technique is essential for maintaining clarity and ensuring that the overlay enhances rather than obscures your main message.
Creative Applications for Spring and Beyond
While the primary theme may be Easter, the versatility of watercolor overlays allows them to be adapted for various occasions and industries. Here are several practical ways to integrate these assets into your workflow:
- Maternity and Newborn Photography: A Maternity overlay can add a dreamy, ethereal quality to portrait sessions. Soft blues, pinks, and lavenders complement the gentle nature of these milestones. By applying a watercolor wash behind the subject or as a border, you create a timeless keepsake that feels artistic and personalized.
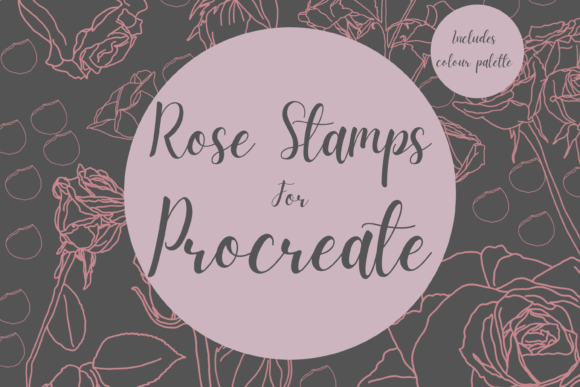
- Mother’s Day Campaigns: As Mothers day approaches, businesses and bloggers can use floral watercolor elements to design greeting cards, email headers, and social media posts. The organic feel of the brushstrokes conveys sincerity and warmth, making it an ideal choice for honoring maternal figures.
- Educational Materials: Teachers and educators can use these overlays to create engaging worksheets, classroom decorations, or presentation backgrounds. The visual appeal helps maintain student interest and makes learning materials feel less rigid and more approachable.
- Small Business Branding: Entrepreneurs selling handmade goods, such as candles, soaps, or jewelry, can use watercolor frames to highlight product photos. A Frame png with watercolor edges can serve as a consistent branding element across Instagram feeds and website banners, establishing a recognizable visual identity.
Techniques for Professional Results
Achieving a polished look requires more than just dragging and dropping an image. To keep results clear, effective, and organized, consider the following best practices:
Layer Management: Keep your workspace tidy by naming layers clearly. Group your watercolor overlays separately from your base images and text. This organization makes it easier to tweak opacity settings or blend modes without affecting other elements of your design.
Blend Modes: Experiment with different blend modes in Photoshop. Modes like Multiply, Screen, Overlay, and Soft Light interact differently with the colors beneath them. Multiply is excellent for darkening and adding depth, while Screen can help lighten areas or create a glowing effect. Adjusting the opacity of the overlay layer often yields the most natural result, allowing the underlying image to breathe through the texture.
Color Harmony: Ensure that the colors in your watercolor overlay complement your overall palette. If your base image is warm, choose overlays with similar undertones to maintain consistency. If you want contrast, select complementary colors but keep the saturation balanced to avoid visual clutter.
Using Brushes for Customization: The included 1 abr file allows you to paint additional watercolor elements manually. Use these brushes to fill in gaps, add splatters for dynamic energy, or soften harsh edges. This step adds a layer of originality, ensuring that your design does not look like a generic template.
Adapting for Different Platforms
Different platforms have different visual requirements. Social media favors bold, quick-to-read graphics, while print materials demand high fidelity. When designing for Instagram or Pinterest, use the Frame png elements to create borders that draw the eye inward. Keep text minimal and legible against the textured background. For print items like invitations or brochures, leverage the 300 DPI high resolution of the JPEG and PNG files to ensure sharp details. Always preview your design at 100% zoom to check for any pixelation or awkward blending before finalizing.
By integrating an Easter Watercolor Overlay Photoshop Ov into your creative toolkit, you gain the ability to produce sophisticated, emotionally resonant designs efficiently. Whether you are crafting a heartfelt Mothers day card, enhancing a Maternity overlay for a client, or refreshing your brand’s spring aesthetic, these tools provide the flexibility and quality needed to succeed. Embrace the fluidity of watercolor, experiment with layers, and let your creativity flow with the season.